For day 10 of my December making project, I tore down an old hallway closet in order to build a new closet and a walk-in pantry.
A few days ago, I tore down a wall between the living room and the foyer as part of some renovation plans for the foyer of our house. Today, I continued with my “unmaking” making streak and tore down the hallway closet adjacent to the foyer in order to build a new closet facing the entry door and add a walk-in pantry on the backside of the hallway.
I really enjoy the open space, even though it’ll only be like that for a day or two. Jessica likes it open so much that she’s having second thoughts about closing it up again. But having a pantry will be worth giving up the space (right now we keep most supplied in the basement or in large cupboard in the other room.)
A couple of things I’ve learned through the process:
- Make sure the wall isn’t load-bearing before tearing it down. Thankfully, we just had some construction done recently, and the contractors talked me through what was and wasn’t load bearing. The very general rule of thumb is that if it runs parallel with your floor joists, it’s probably not load-bearing. If it’s perpendicular, you might need to install some kind of beam to provide replacement support. (We used a huge laminate beam when we pulled out the big load-bearing wall between our kitchen and living room.)
- Remove the sheetrock first if you can. The studs are much easier to take out after it’s been removed.
- Use a utility knife to score where the wall you’re removing intersects with other walls so it doesn’t rip that sheetrock. Didn’t need to do that this time around since I wasn’t really connecting to anything important.
- It makes a lot of dust. Make sure you’ve moved or put away things that might be damaged by dust, like throw rugs, instruments, etc. We even had to mop the subfloor afterward so the baby didn’t get sheetrock dust all over his hands and knees.
- If you can’t pry the studs apart with a hammer and a pry bar, a reciprocating saw can help cut it into smaller pieces and give you leverage. (You can see me do this a few times in the timelapse.)
Here’s a timelapse of the process. For the curious, I used the Christmas lights to easily test if the breaker was off for that outlet.
Tomorrow, we build the wall!
This is day 10 of my 31 days of making.
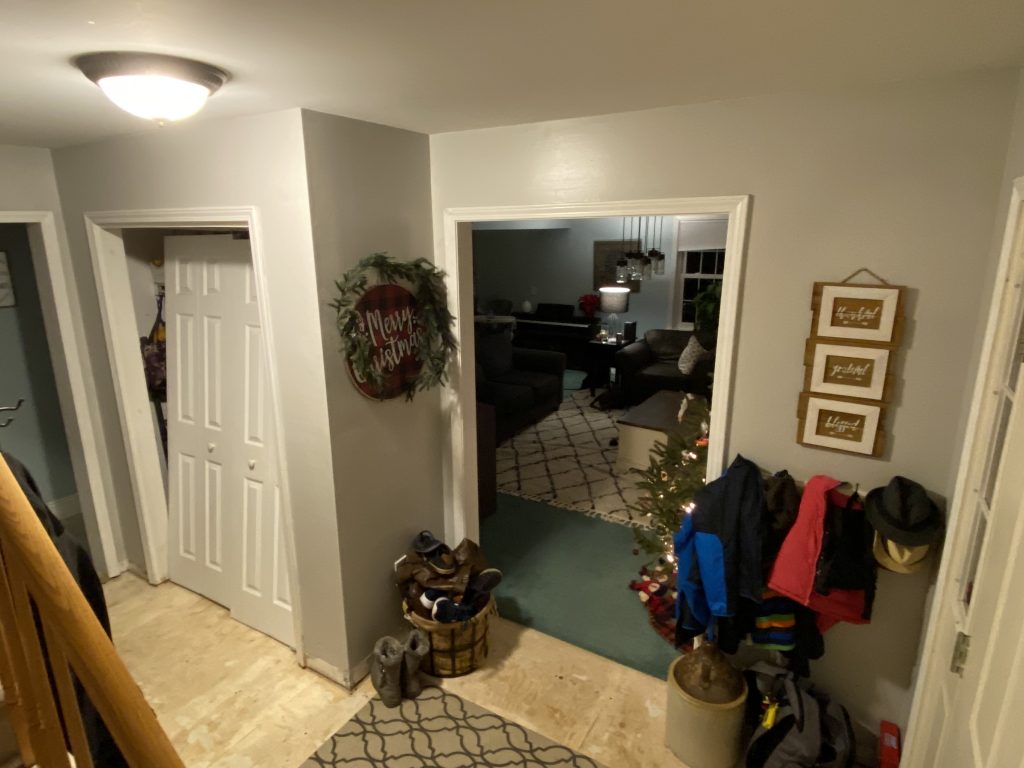
The “before” shot.
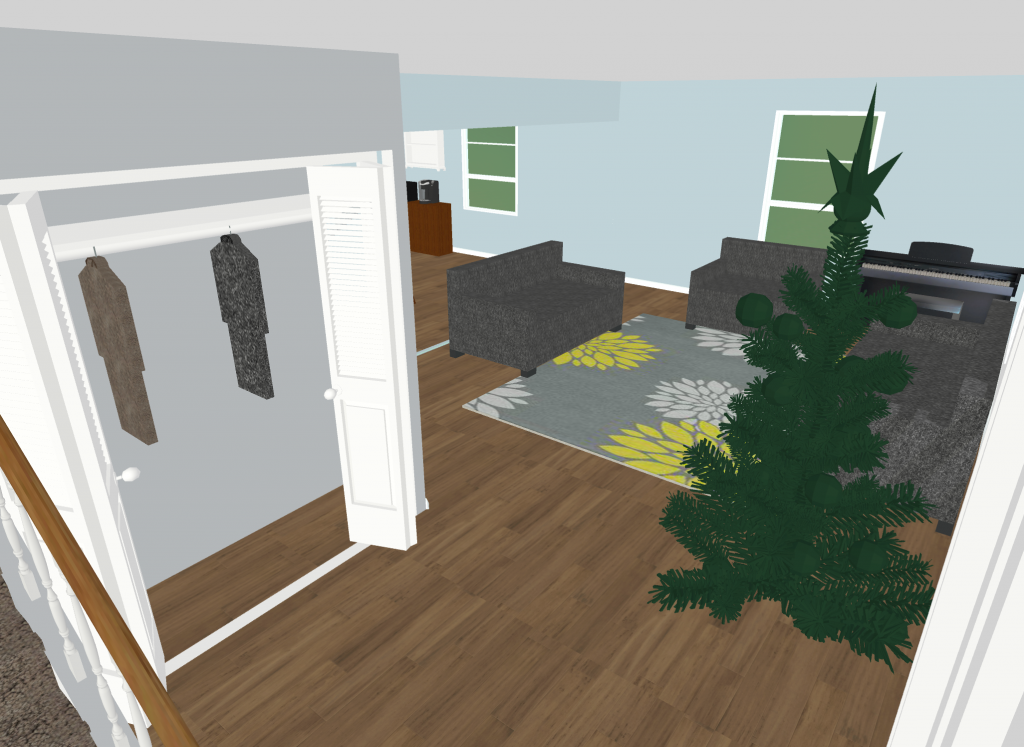
The planned renovations to the entryway, with a coat closet on the front and the small wall removed between the entry and the living room.