With everyone working from home lately, I thought it might be helpful if I shared a bit about my audio/video setup.
Video
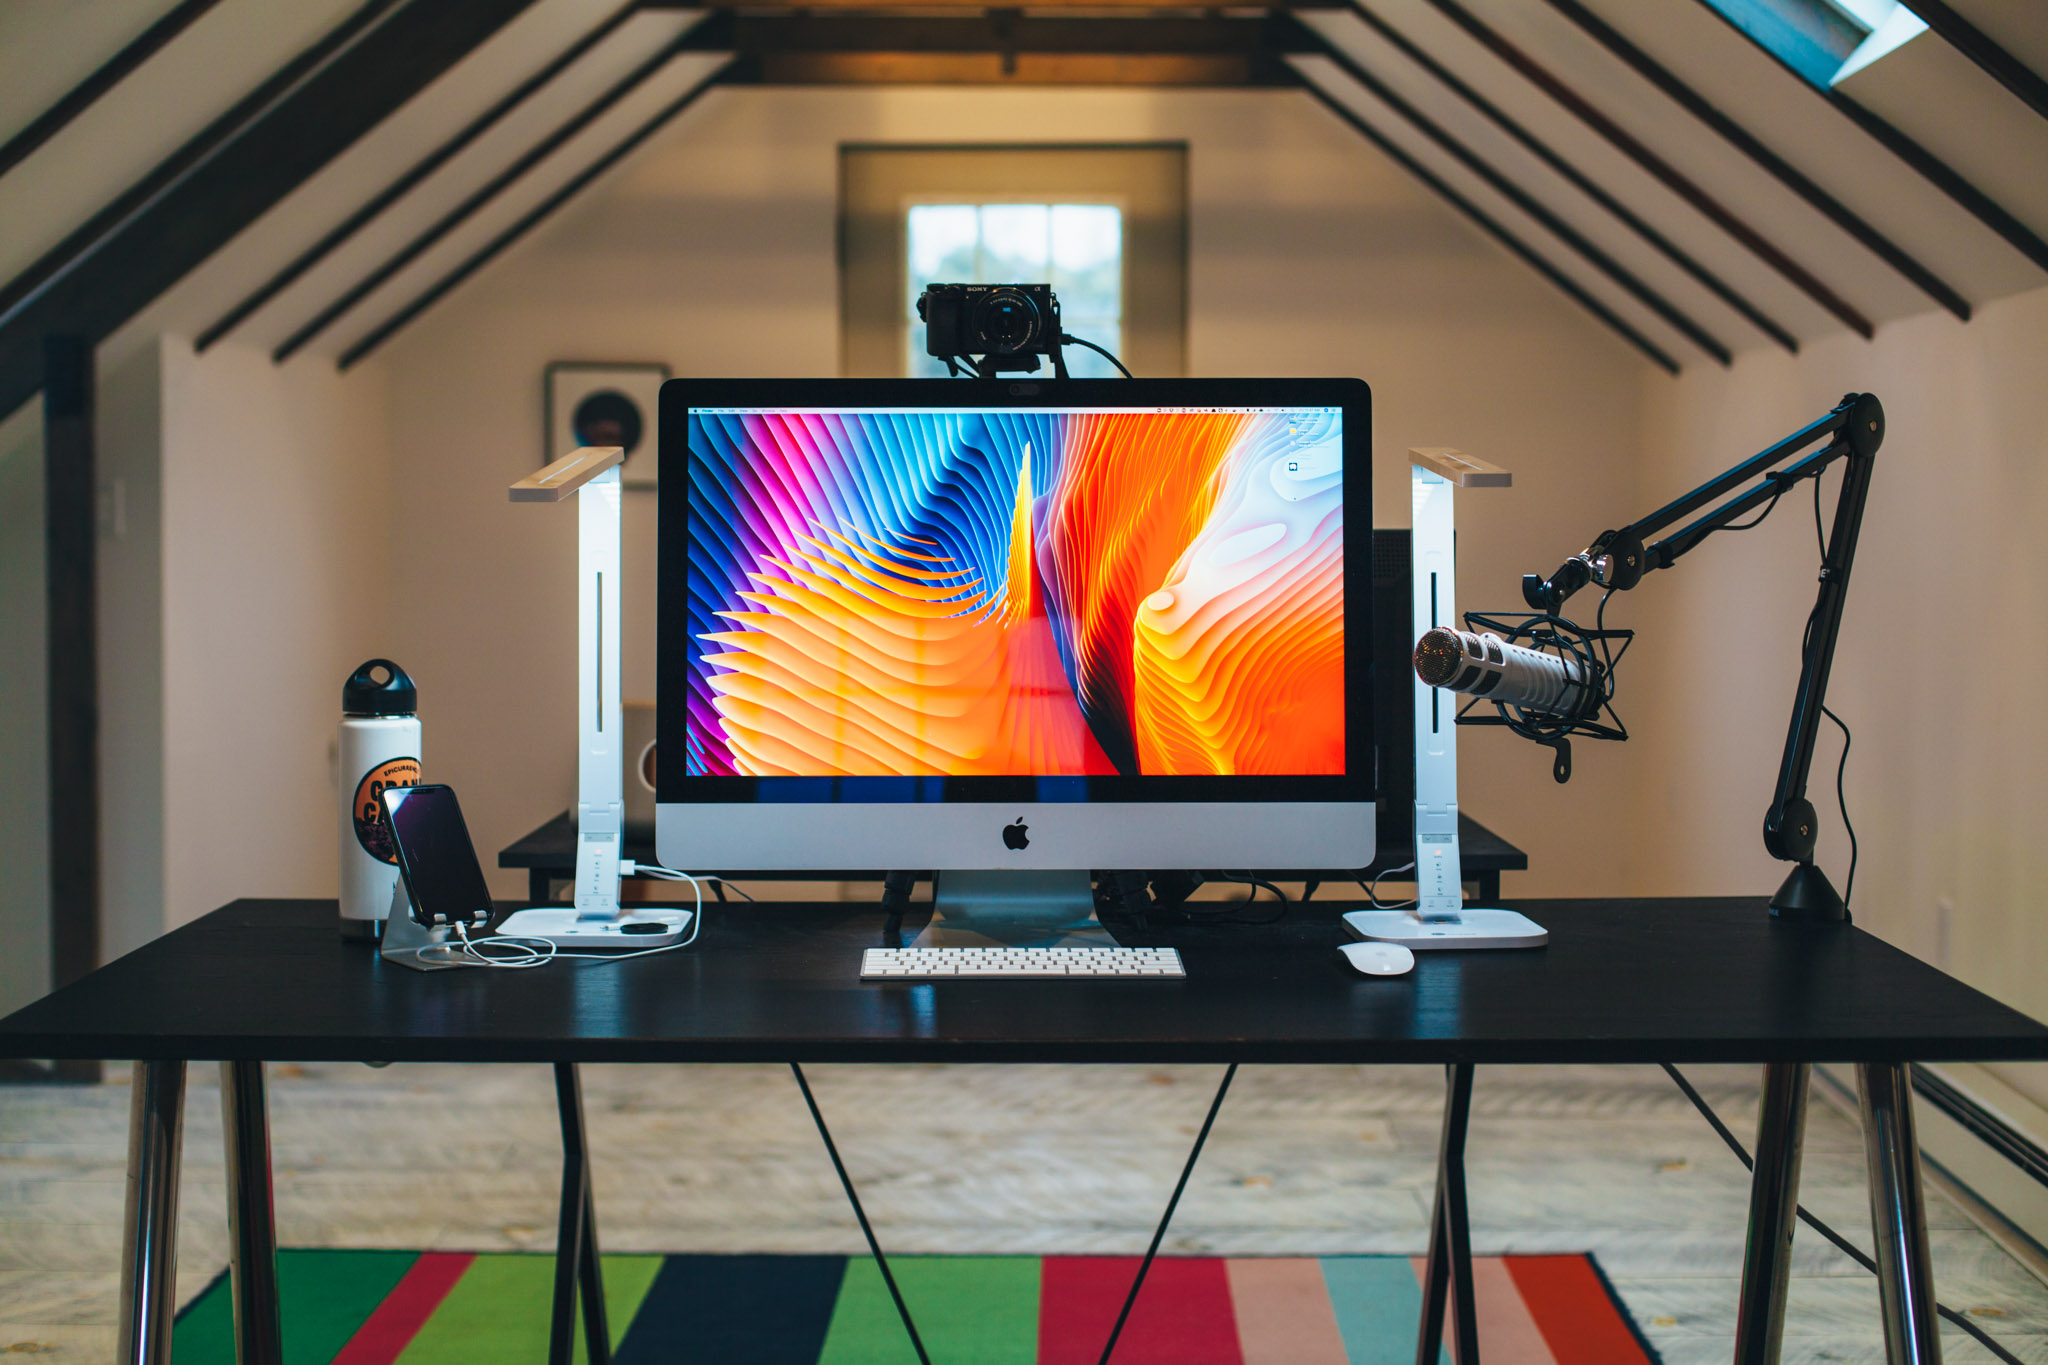
Before I dive into how I got everything working together, here’s a bullet list of my video setup today:
This setup is about $750 if you buy everything new.
Setting It Up
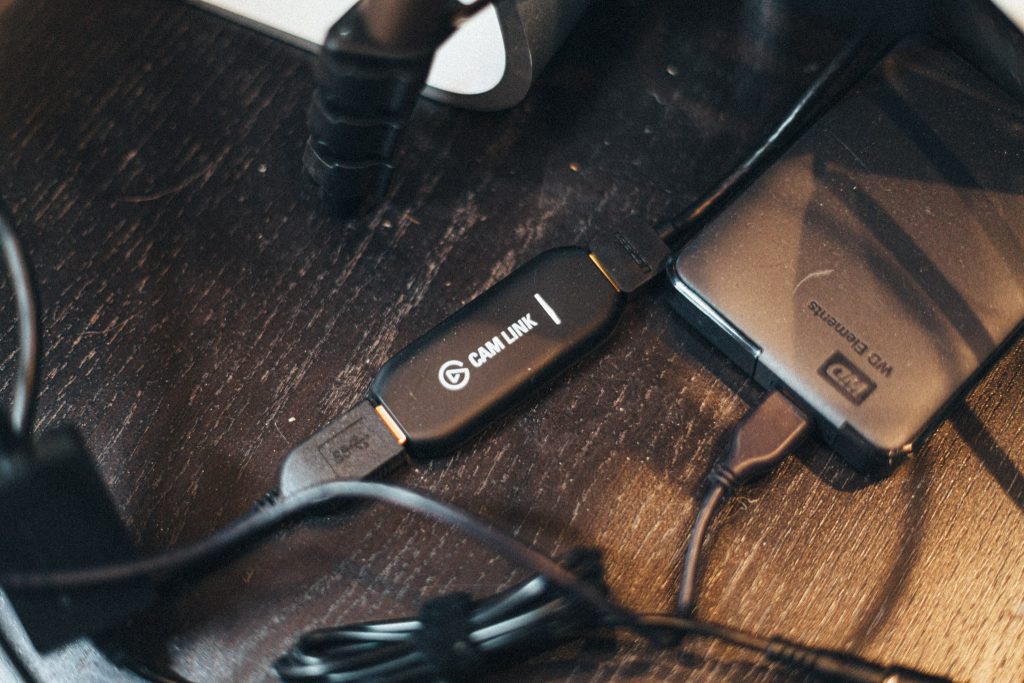
After Dan Mall turned me on to the Elgato Cam Link, I got excited about the possibility of using my own DSLR as a webcam for my computer. In a nutshell, the Cam Link plugs into a USB port and lets you pull in any HDMI input as a video source on your computer. I own a Canon 5D Mark II with several really nice lenses, so I got excited about the possibility of a setup where I could leverage those lenses for any kind of online video work.
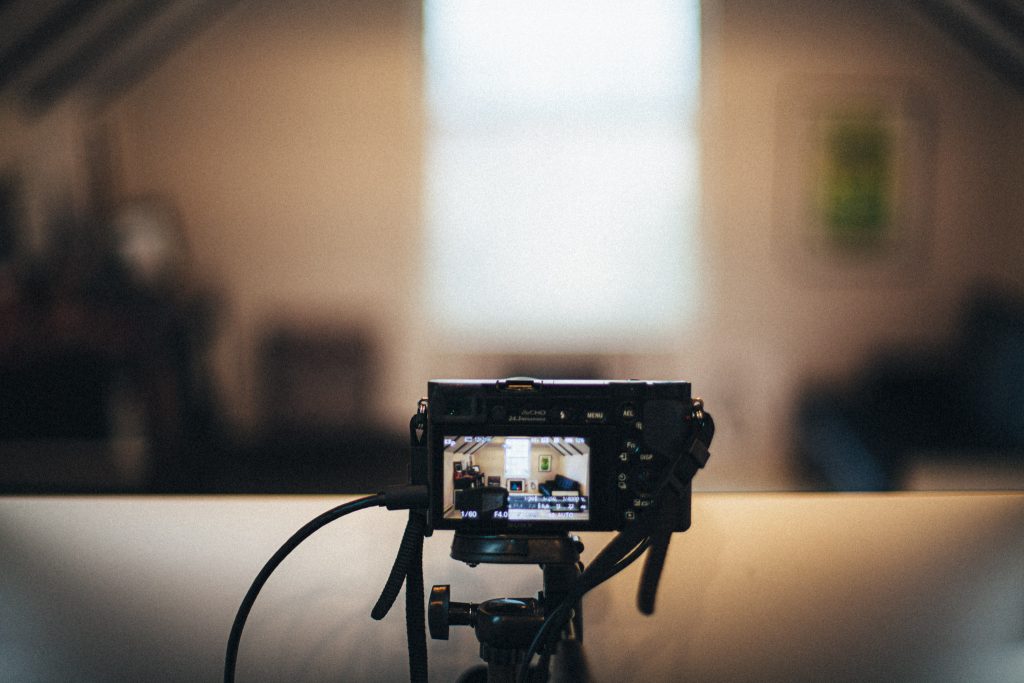
I purchased the Cam Link and a Micro-HDMI to HDMI, but I quickly discovered a problem: the Canon 5D Mark II doesn’t have clean HDMI output. In other words, when I plugged it in, I got what you’d see on the viewfinder:
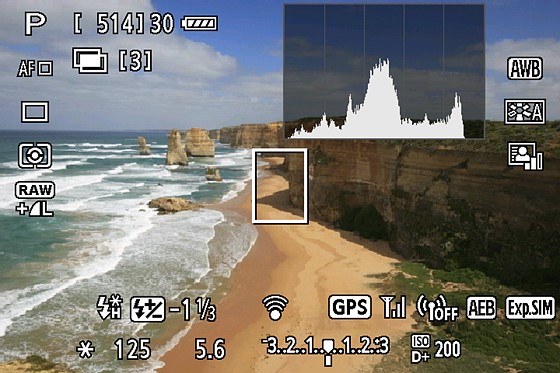
You can check if your camera outputs clean HDMI with Elgato’s compatibility checking tool.
I wish I’d have checked that tool first: the 5D Mark II doesn’t have clean HDMI out — but the Canon M50, Canon’s entry-level mirrorless DSLR does, so I decided to purchase one with the hopes that I could stay in the Canon family and use all my lenses.
But I had a lot of problems with the M50.

It was a decent standalone camera, but the output wasn’t exactly clean. Even with all the viewfinder displays turned off, if you left the autofocus on, a box would appear over your face every time AF kicked in. There was no way to disable it, so I had to use it in Manual Focus mode — which is a pain if you move around. Also, the M50 has a 3/4 sensor, so I had to purchase a lens conversion kit in order to use my EF lenses, which caused some unwanted cropping and made it so I couldn’t really use my good lenses as a webcam anyway. I even tried the Viltrox speed booster to offset the cropping, but that caused all sort of lens distortion and messed with the autofocus. There’s even more complication here I’m leaving out: possibly using USB to grab video but needing a paid subscription to Ecamm. Long story short: I was almost $1000 into this and had no satisfying solution.
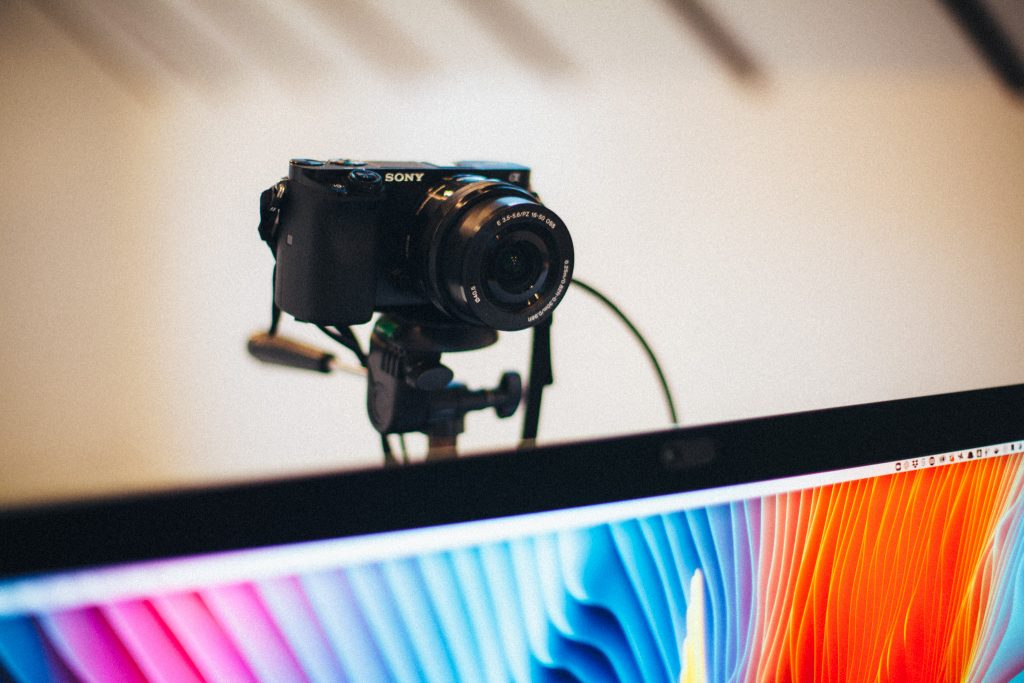
About the same time as I was having all these issues, a friend posted a used Sony A6000 for sale at a really reasonable price. I had read lots of good things about the A6000 for vlogging, and I knew it supported clean HDMI out, so I decided to return all the Canon items I had purchased back and go the much less expensive used-Sony route.
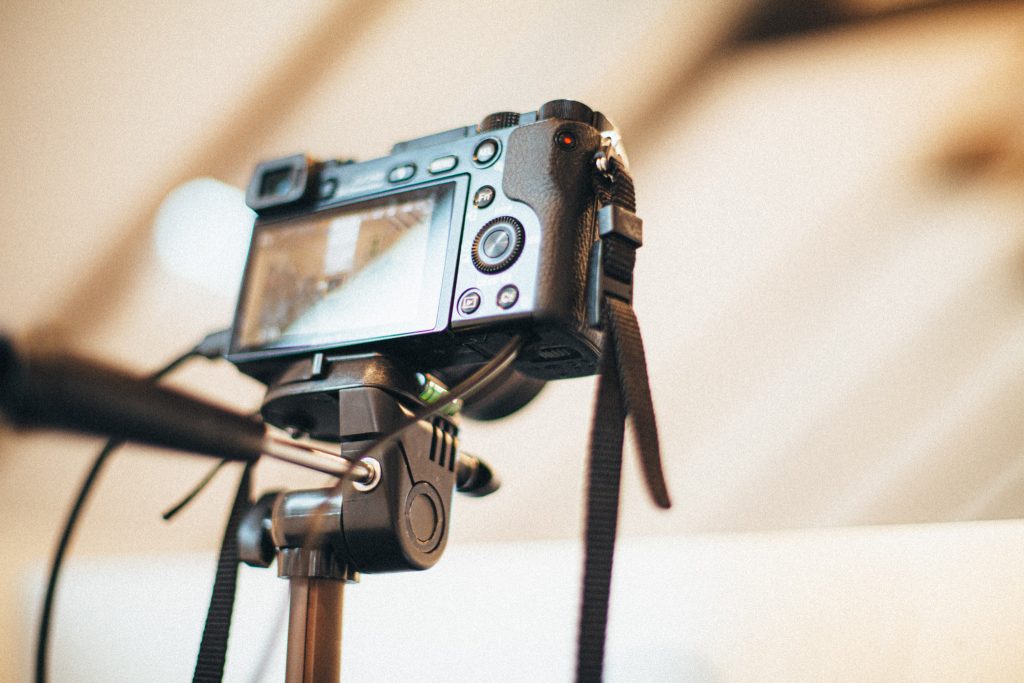
I’m glad I did. As soon as I got it home and plugged it in, everything worked as expected, with no headaches. Clean HDMI output. Decent depth of field. No complaints. I mounted it on a cheap but reliable Amazon Basics tripod, and I set the camera to “movie mode” to ensure the highest quality HDMI out (using any other mode sends a much lower resolution output).
The only thing worth mentioning with the Sony A6000 is that while you can run it on batteries, you’ll only get an hour or so. I decided to purchase a relatively inexpensive dummy battery that lets me keep the camera on all day without needing to fuss with batteries.
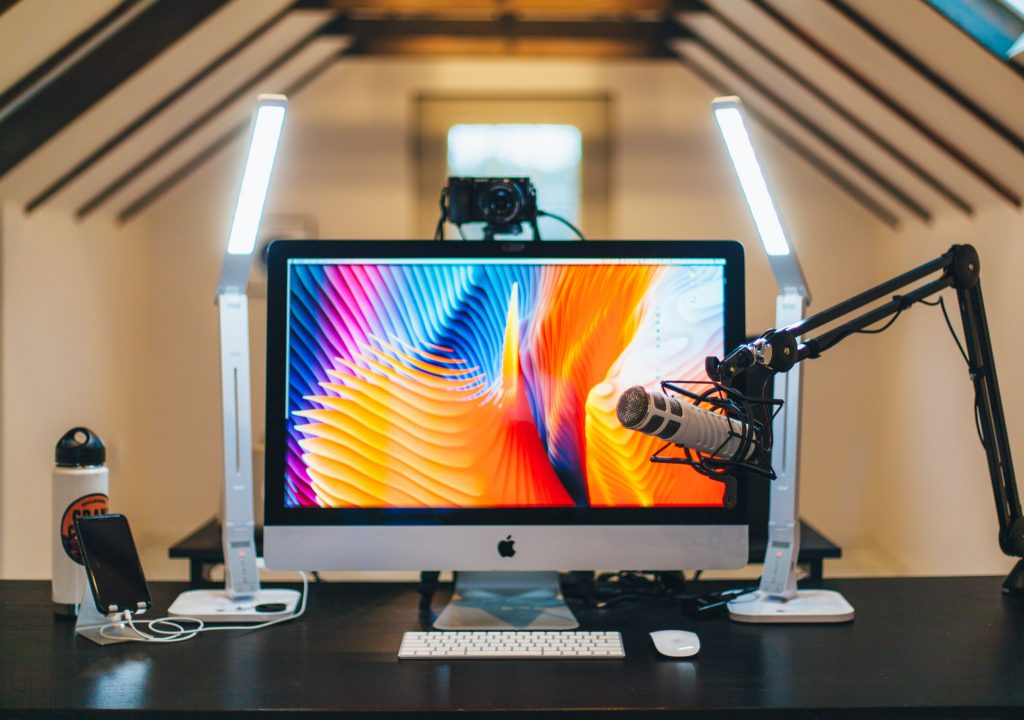
Lighting
Here’s the bullet list for my audio setup:
If you buy two of these like I did, it will cost you $60 ($30/each).
Setting It Up
My lighting setup is simple. I actually tried several different lighting options like LED panels, but these two LED desk lamps work out really well for me. I keep them aimed down when I’m working, then flip them up when I’m on a call. You can adjust the brightness and color temperature, and they’ve got USB ports on the side, handy for charging devices.
If you’re looking for something more adjustable/flexible, take a look at the Lume Cube.
Audio
Here’s the bullet list for my audio setup:
This setup is about $400 if you buy everything new.
Setting It Up
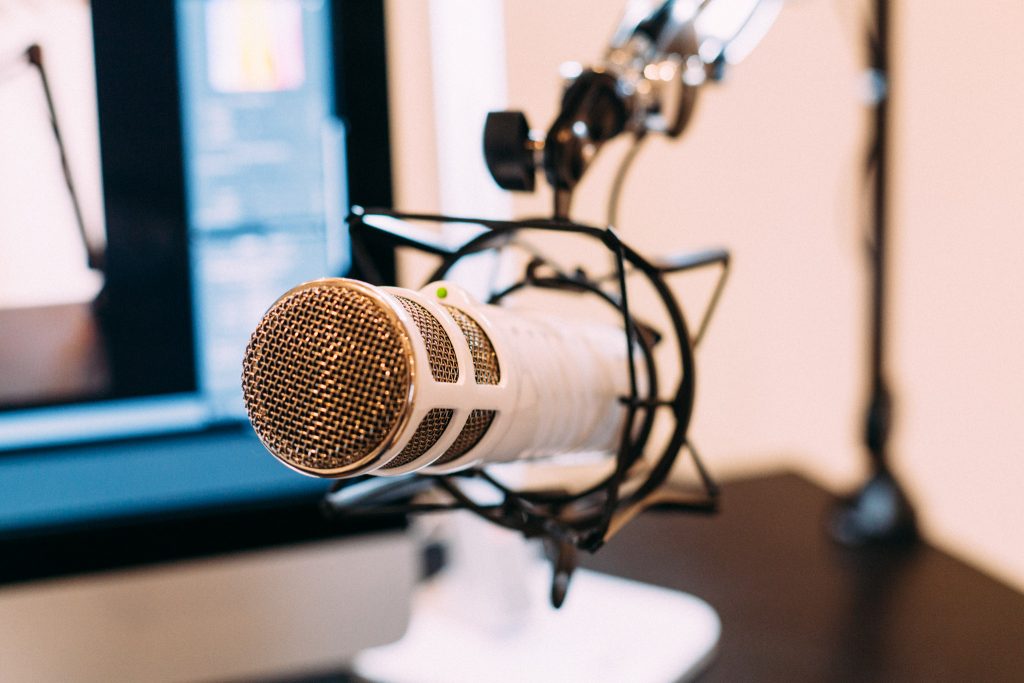
For years, I’ve used a Blue Yeti Blackout USB microphone. It’s a great microphone at a really good price and does a great job. However, my office acoustics are terrible, and after a bit of research, I read that a dynamic mic might help eliminate the background noise and clean up my signal, so I picked up the Rode Podcaster.
So far, I’ve been happy with the quality. It doesn’t pick up nearly as much of the echoes the Yeti did. My only complaint is that the signal is very weak. It has no built-in gain control, so the input gain on the computer needs to be set to 100% and the mic really needs to be close to the mouth in order to get a decent signal.
Also — if you’re thinking about any boom arm, save yourself the headache and get the Rode PSA1. I’ve gone through many mic stands, and this one really is worth the money.
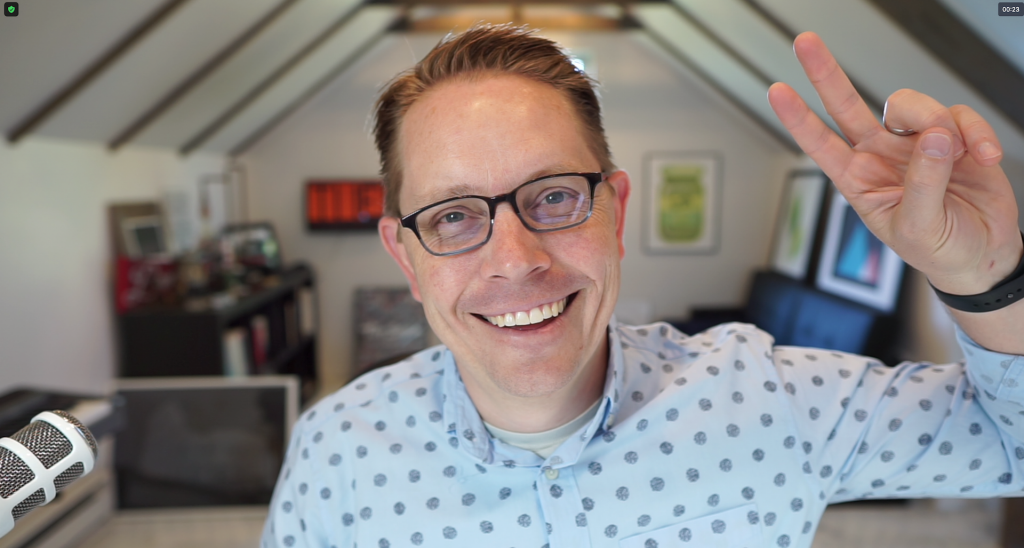
Result?
Pretty nice looking Zoom calls.
Bonus tip: If you ever need a high-resolution recording of a presentation you’re giving over Zoom, you can use your DSLR camera for Zoom and record it via QuickTime at the same time.